It was definitely a lot simpler than what I usually write now (if I take the time to bother at all), but it got the job done, and apparently was followable, so I guess it gave me the confidence to keep trying to make my own things, instead of always following a commercial pattern.
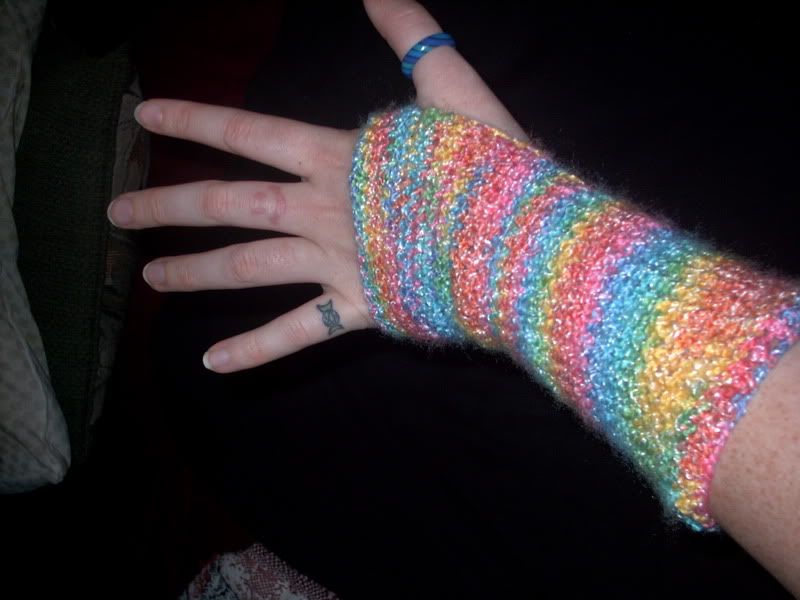
I made some rainbow wrist warmers when I had the flu and was home sick from work, then posted them to Craftster and was asked if I kept track of how I made them.

Here's what I came up with to share:
ch 35 (or enough to equal the measurement around mid-arm)
join w/ sl st to form circle
dc in each ch 1 round
sc until desired length (from mid-arm to wrist) dropping one stitch every 5 rounds or so
*sc in next 4, then 2sc in next stitch* repeat **'s until round completed, leaving 1 stitch out
^ch 1, turn and 1sc in each stitch^ repeat ^^'s until desired length (I made 11 rows like this)
ch 1 and join w/sl st to form circle
sc a few rounds until desired length again (I just did 2)
for the edges, I don't really know if the stitch has a name, I did a sl st, but tightened each stitch and added one extra loop and tightened it into a knot. I did this for each stitch around the finger/hand opening, as well as around the thumb-hole....
No comments:
Post a Comment